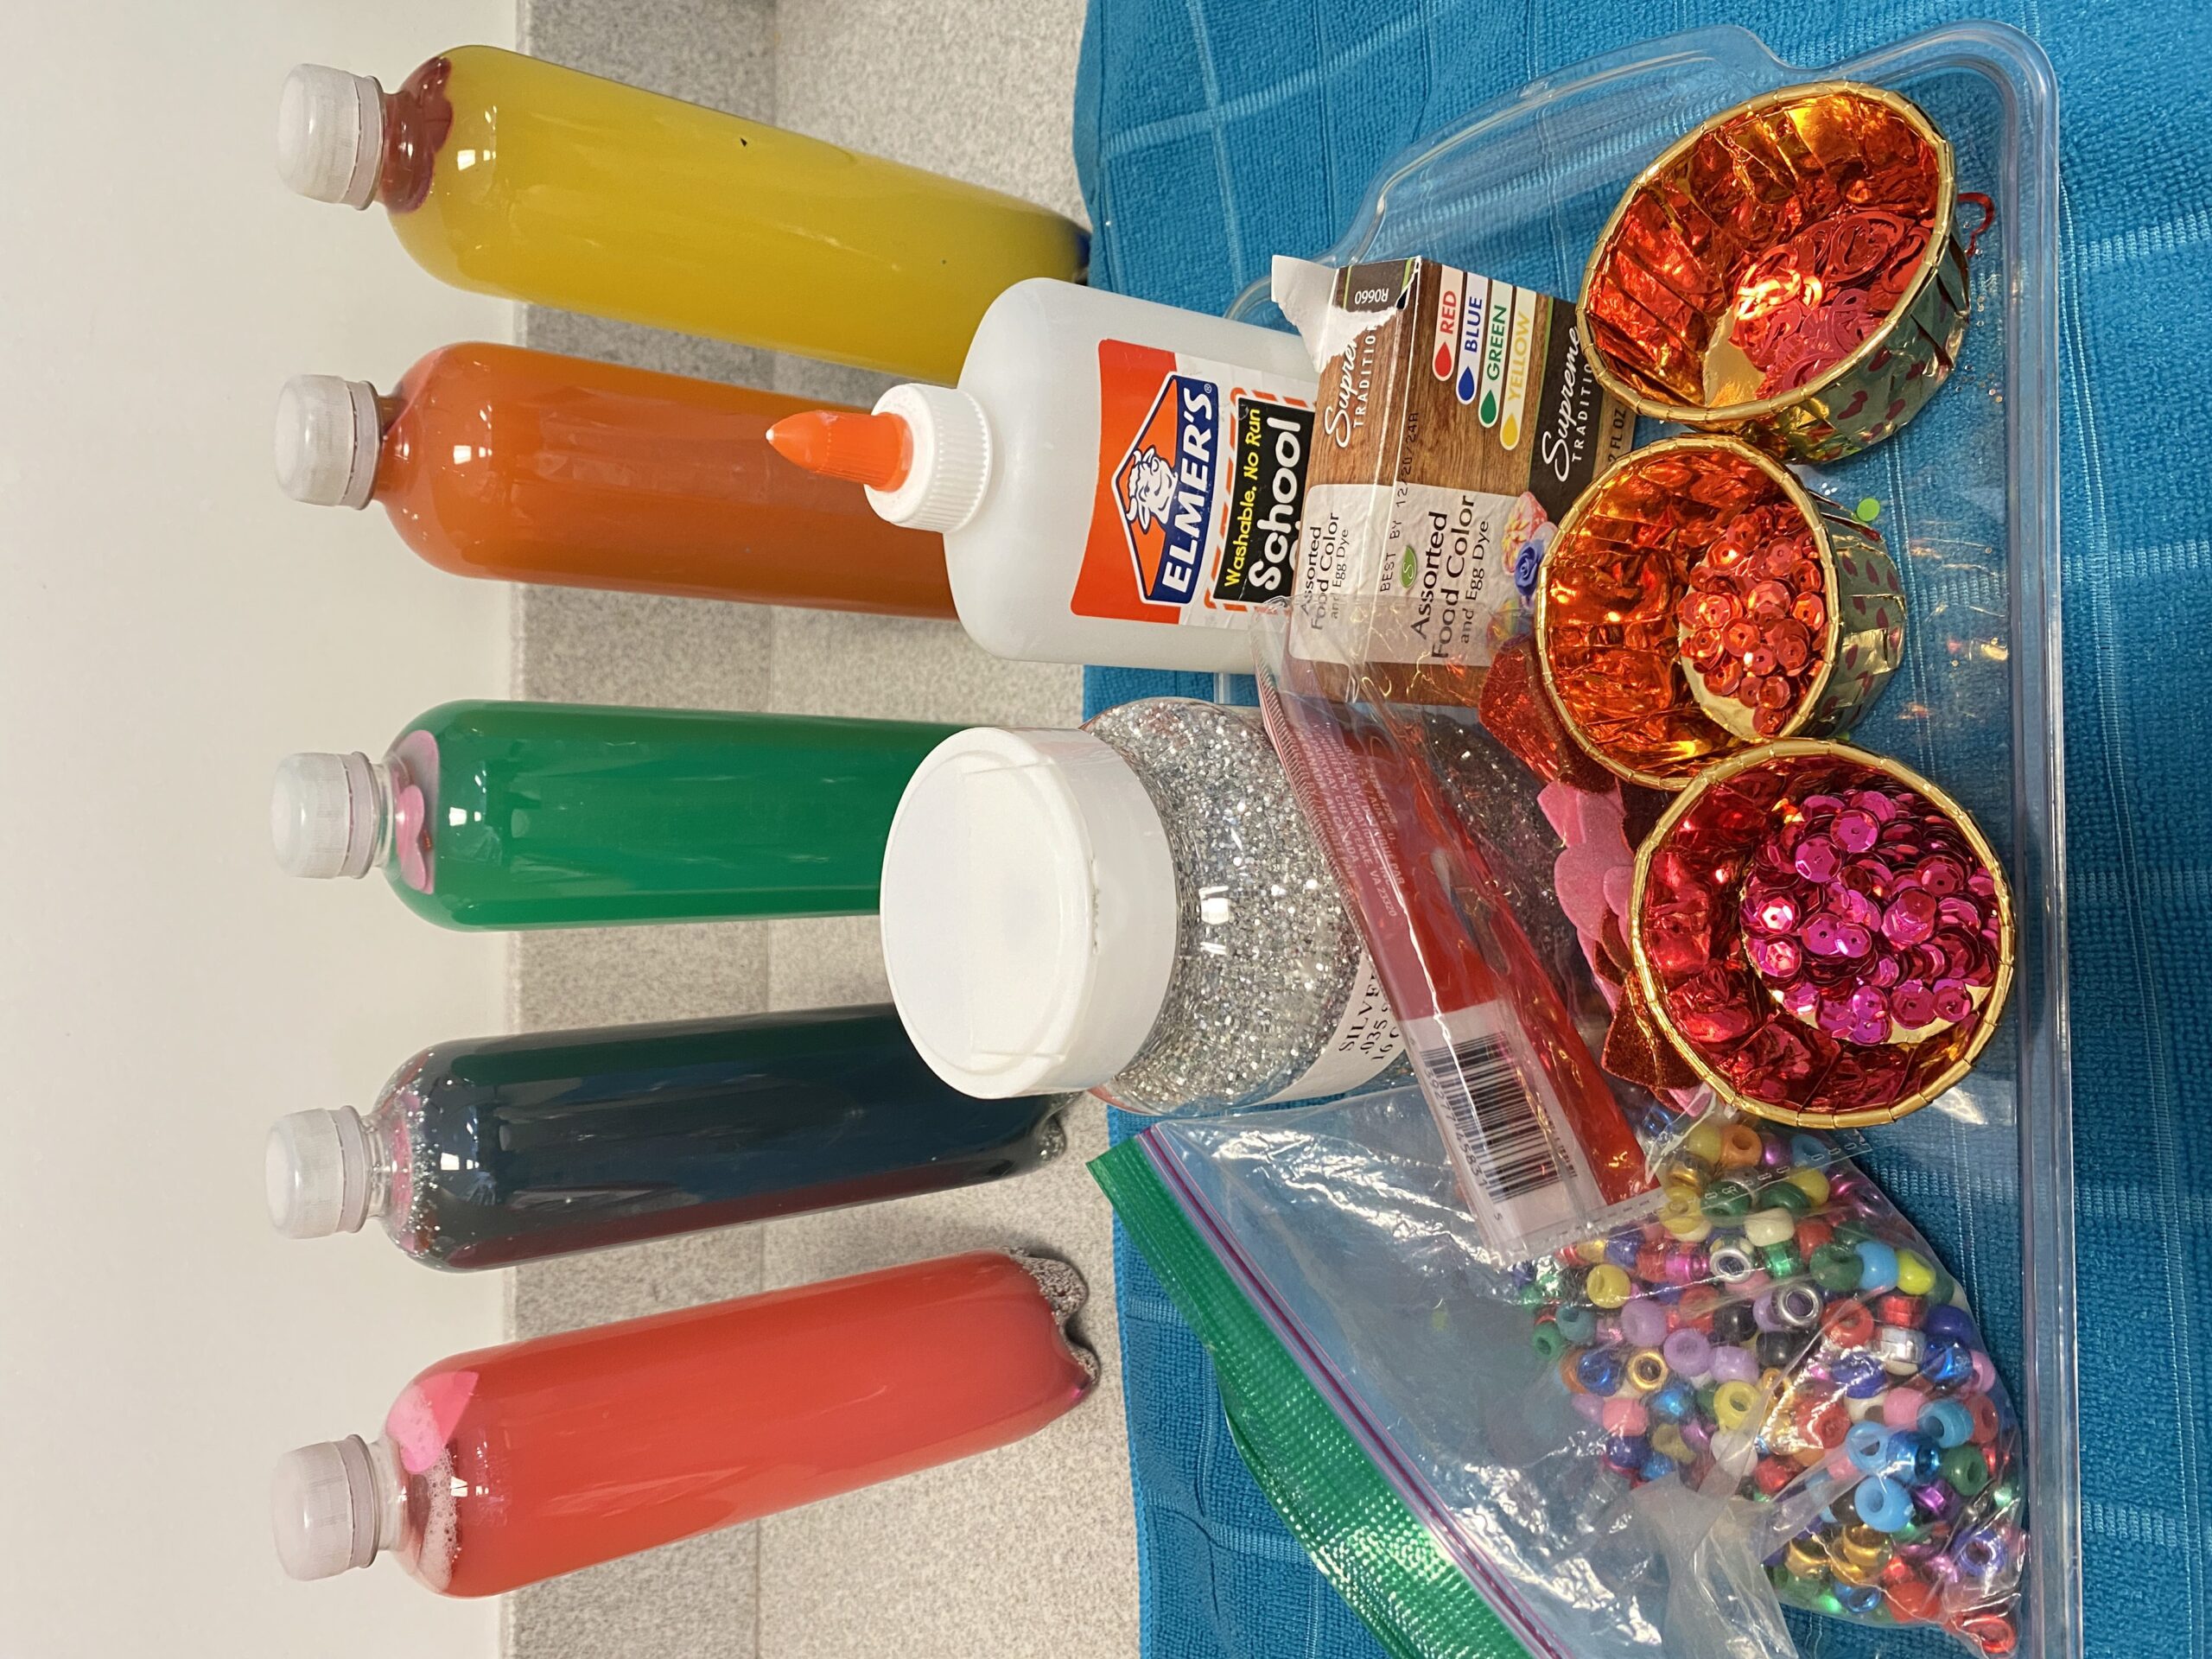
Sensory bottles are a fantastic tool for engaging preschoolers in a fun and educational activity. They provide a wonderful opportunity for children to explore their senses while stimulating their curiosity and creativity. If you’re a parent or teacher looking for a fun activity to do with your little ones, making sensory bottles is a great option!
This post may contain affiliate links, which means I may receive a commission, at no extra cost to you, if you make a purchase through a link. Please see my full disclosure for further information.


Creating Your Sensory Bottle
Step 1: Gather Your Materials
To make sensory bottles, you’ll need a few materials. Here’s what you’ll need:
- A clear plastic bottle with a tight-fitting lid (a water bottle works well)
- Glue or glycerin
- Water
- Small objects to add to the bottle (such as beads, buttons, glitter, or small toys)
- Food coloring (optional)
Step 2: Fill the Bottle
The first step is to fill the bottle with water. You’ll want to fill it about ¾ of the way full. Next, add a few drops of clear glue (white glue is fine to use, it will just change the coloring a little bit) or glycerin to the water. This will help the objects in the bottle move more slowly, making it easier for children to see and explore them. You can also add a few drops of food coloring to the water to make it more visually interesting.
Step 3: Add the Objects
Next, add the small objects to the bottle. You can use any small, lightweight items that you think your child will enjoy exploring. Be sure to choose items that won’t dissolve or break down in water. Some good options include beads, buttons, glitter, small toys, or even sequins. I used sequins and foam glitter hearts from Dollar Tree and beads from Amazon.
Step 4: Seal the Bottle
Once you’ve added the objects to the bottle, it’s time to seal it up. Make sure the lid is on tight, and consider using hot glue or duct tape to seal it even more securely. You don’t want any of the water or objects to leak out!
Step 5: Shake and Explore!
Now that your sensory bottle is complete, it’s time to let your little ones explore it! Encourage them to shake the bottle and watch the objects move around. They can also turn it upside down, tilt it, or roll it around to see what happens. You can even encourage them to use their other senses, like touch and sound, to explore the bottle.
Making sensory bottles is a simple and fun activity that your preschoolers are sure to love. Whether you’re doing this activity at home or in a classroom setting, it’s a great way to engage children’s senses and promote their cognitive development. So why not give it a try? Your little ones are sure to have a blast!
