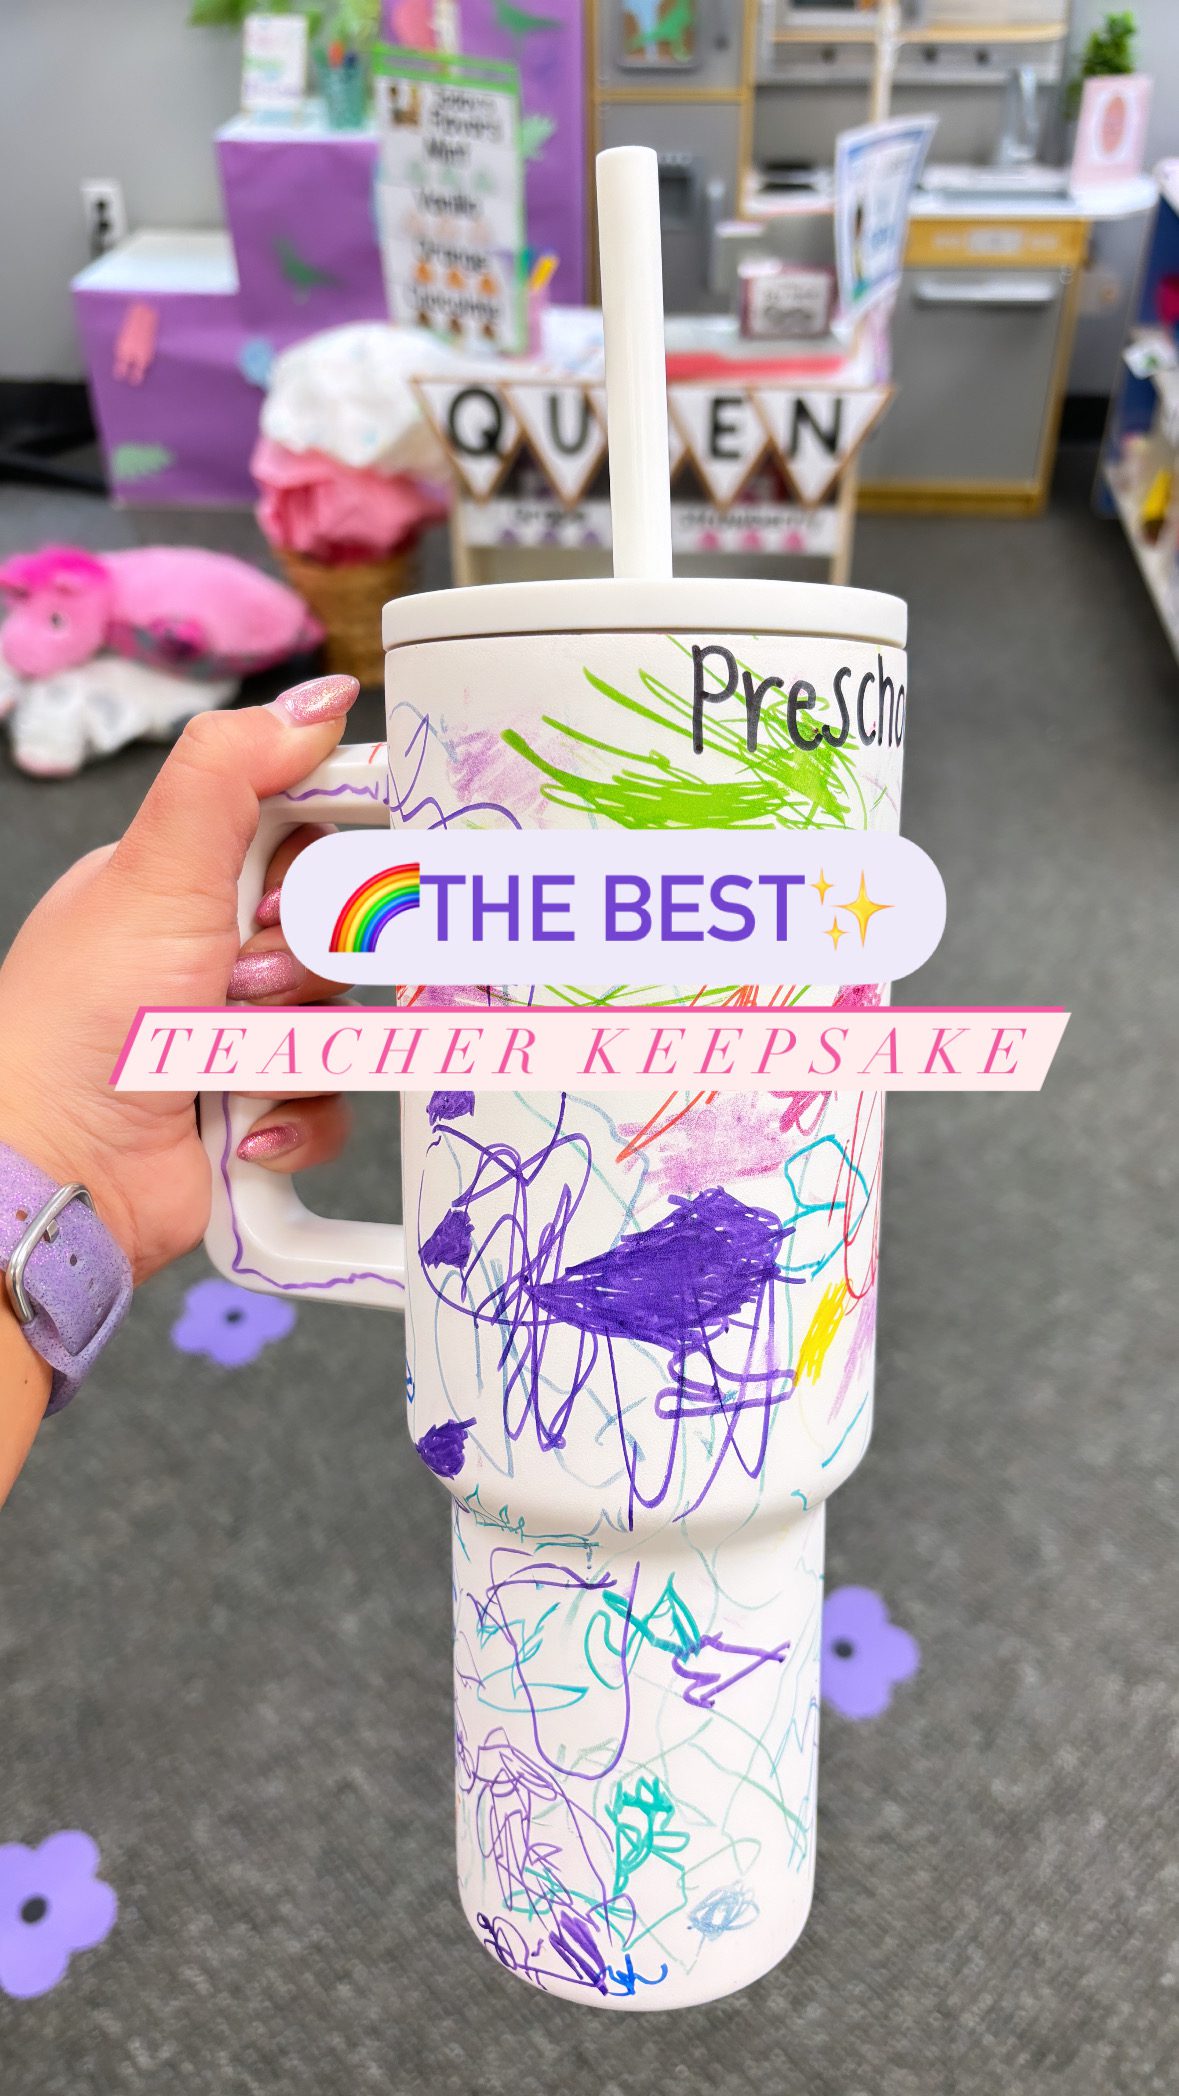
As a teacher, one of the most rewarding parts of our job is seeing the joy and creativity our students bring into the classroom. Today, I want to share a fun and meaningful keepsake project that will not only capture the memories of your class but also become a treasured item for years to come. I’m talking about a personalized tumbler that your students can decorate with their own unique designs! I made this during my first year of teaching in the classroom and I absolutely love it!
This post may contain affiliate links, which means I may receive a commission, at no extra cost to you, if you make a purchase through a link. Please see my full disclosure for further information.
What You’ll Need
- A white 40oz tumbler
- Sharpie markers (variety of colors)
- A clear waterproof sealant
I chose to use the Simple Modern 40oz. tumbler from Amazon, but there are plenty of other tumblers or water bottles that would be perfect for this keepsake. The key is to have it be a light color so that the Sharpies’ colors appear. You can also add an anti-slip bottom bumper sleeve to your tumbler to keep it more stable and not slide so easily.

Steps to Create Your Personalized Tumbler
- Prep the Tumbler: Start with a clean, white 40oz tumbler. Make sure it’s completely dry before you begin.
- Design Time: Hand out Sharpie markers to your students and let them go wild with their creativity. Encourage them to draw pictures, write their names, or add little messages. It’s a wonderful opportunity for them to express themselves and feel like a part of something special.
- Seal the Deal: It’s time to protect those masterpieces once the designs are complete and the ink has dried (give it a few hours to be safe). Spray a clear waterproof sealant over the tumbler to ensure the designs stay vibrant and intact. I flipped my tumbler over so that the spray wouldn’t get inside of my cup. Follow the instructions on the sealant for best results.
- Enjoy: Your tumbler is now ready to use! Whether you’re sipping your iced coffee in the morning or staying hydrated throughout the day, you’ll have a personalized reminder of your wonderful class.
- Hand-Wash: Bonus tip- only hand-wash your tumbler to make sure the designs last. The last thing you want to do is put it in the dishwasher to save some time, only to have it come out with the designs faded or completely gone.


This project is not just a keepsake; it’s a celebration of your students’ creativity and a reminder of the special time you’ve spent together. Plus, it’s a great way to bring a little extra joy into your day when you see it!
I hope you find this teacher keepsake idea as delightful as I do. If you try it out, I’d love to hear how it goes. Share your tumbler creations with me, and let’s keep celebrating the magic of teaching!
Until next time, keep inspiring and creating!
