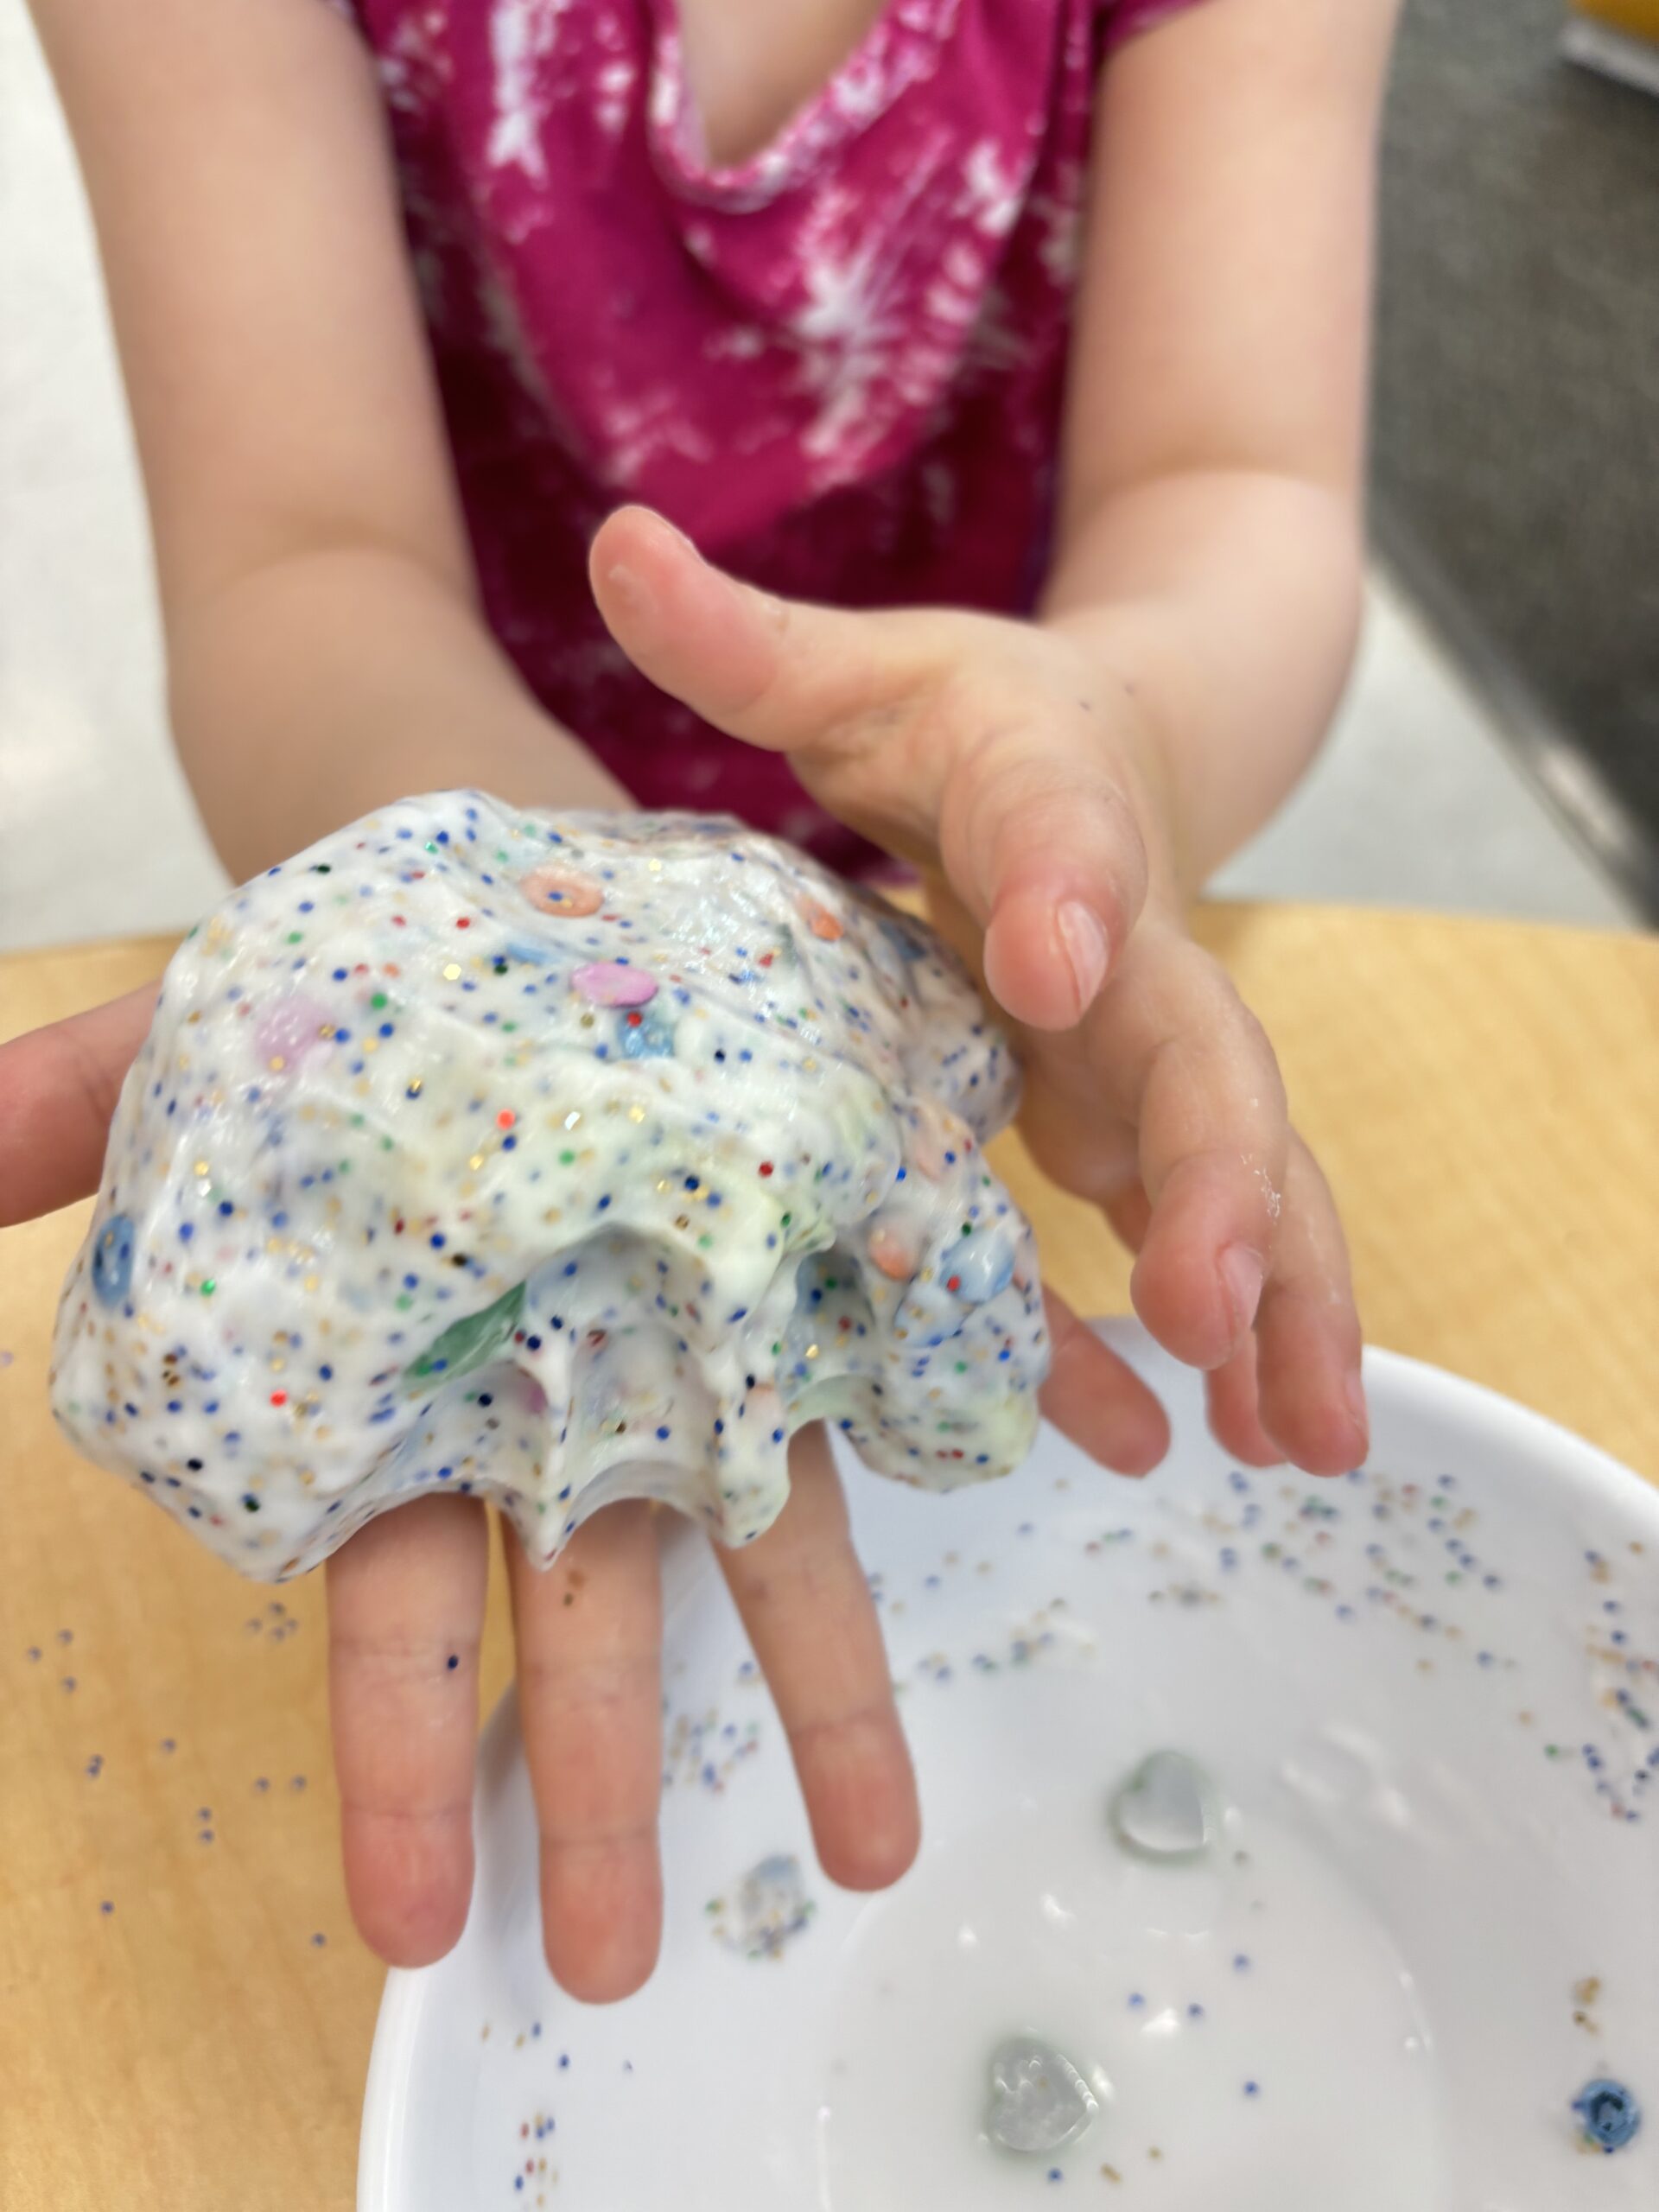
Welcome slime enthusiasts! Today, I’m beyond thrilled to share with you my latest obsession – the enchanting world of Magic Slime! Trust me when I say, that once you dive into this sparkly, squishy goodness, there’s no turning back. So, gather around, and let’s embark on this mesmerizing magic slime DIY journey together.
This post may contain affiliate links, which means I may receive a commission, at no extra cost to you, if you make a purchase through a link. Please see my full disclosure for further information.
Magical Ingredients🥣
First things first, let’s gather our magical ingredients:
- 1 bottle of glue (4 fl oz.)
- 2 tablespoons of baking soda
- 1 tablespoon of contact solution
- Glitter
- Sequins
- Gems
Let’s Make Some Magic🪄
Are you ready? Because the magic is about to unfold!
Step 1: Glitter-fy Your Glue- Pop open that bottle of glue and pour it into a mixing bowl. This is where the magic begins! Sprinkle in as much glitter as your heart desires. Go on, don’t be shy! Whether you’re into subtle sparkle or full-on glam, the choice is yours. Stir it all together until the glitter is evenly distributed, and your glue transforms into a shimmering masterpiece.
Step 2: Add Some Shine- Now, let’s take our slime to the next level with sequins and gems. Toss them into the bowl and watch as your slime comes to life with dazzling accents. Mix them in gently to ensure they’re spread throughout the slime, adding an extra touch of magic to every squish and stretch.


Activate the Magic✨
Step 3: Activate the Magic- Sprinkle in the baking soda and give it a quick stir. Then, pour in the contact solution. As you mix, you’ll notice the slime starting to come together, transforming from a gooey mess into a smooth, stretchy masterpiece. Keep stirring until the slime pulls away from the sides of the bowl and forms a cohesive ball.
Step 4: Knead and Play- Once your slime has reached the perfect consistency, it’s time to get hands-on! Take it out of the bowl and knead it with your hands, feeling the magic between your fingertips. Stretch it, squish it, and let your imagination run wild as you explore the endless possibilities of your glittery creation.
Step 5: Share the Magic- Congratulations, you’ve just conjured up your very own batch of Magic Slime! Now, it’s time to spread the joy. Share your creation with friends and family, or keep it all to yourself – the choice is yours. Just remember, the magic of slime knows no bounds, and there’s always more fun to be had!


So, there you have it – a step-by-step guide to creating your own magical masterpiece. I hope you’re as excited about this slime adventure as I am! Now, go forth and let your creativity shine with the wonder of Magic Slime DIY. Trust me, once you start, you’ll be hooked on the magic forever. Happy sliming, my friends! ✨🌈
